|
|
|
|
The export templates are used to control what data is included in the export output as well as the format of that data. Managing and running export templates is limited to users with the Administrator role.
Topics covered on this help page include:
Summary Tab (define template name, type, filename, email defaults and other summary information)
Record Types (output file headers, trailers, group totals, detail lines explained)
Defining a Field (define what to include and how to format each field)
Order Tab (defines the order in which the selected database fields will be sorted)
You may also be interested in:
Export Expressions (expression syntax and examples)
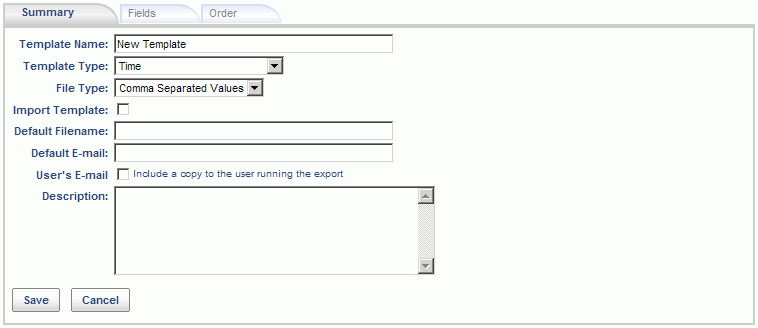
From the template list, the user can click on the add icon (![]() ) to create a new export template. You must first supply the necessary information on the Summary tab (and click on Save), before moving on to specify the field layout.
) to create a new export template. You must first supply the necessary information on the Summary tab (and click on Save), before moving on to specify the field layout.
|
|
Once you have populated the values on the Summary tab and hit save, you can then begin defining the fields (on the Fields tab) to include in the output file layout. When creating a brand new template, you will first need to specify which record type you'd like to begin working with by selecting an appropriate Add control.
There are 5 different record types available, including:
![]()
On a new template, there are no fields specified and all 5 record type options are available. As you add record types to your layout, the corresponding add option will no longer appear. In most cases, you will probably begin with the Detail record type as it is required.

Once you have included fields in your template, the Fields list tab will resemble the following.

By using the Field List - Icon Controls, you can add, copy, delete, edit, and move fields. When adding or editing a field, you will be presented with an entry screen that resembles the following:

|
|
|
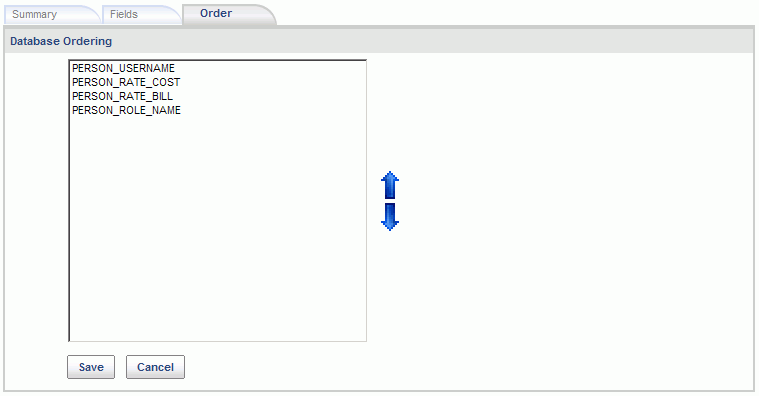
This is the order in which the data will be sorted when retrieved for processing from the database. Because your output may have different requirements for sort order, you can specify the desired order by moving the fields up and down on the screen using the arrows. You can move individual or groups of fields.
Only fields selected from the database are included in this list.
Do note that because you may further manipulate the output within the expression (i.e. substitute values using a SWITCH statement for example), this order may not reflect the final sort order of the resulting output file (as it only sorts the data when retrieved from the database). When summing data, the sort order is critical as the summing will 'break' on changes to values within this sort order.
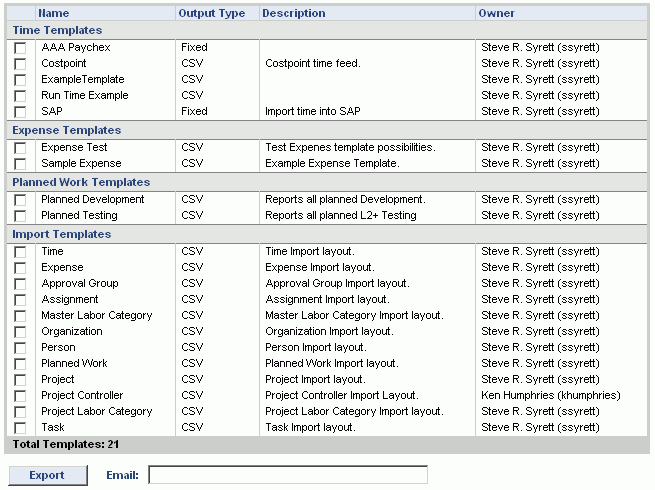
Once you have templates in your Unanet System, the export page allows you to export the templates either to a valid email address and/or save the templates to a local drive. This can be useful if you want to share your templates with others, send them to Unanet Technical support for help in tweaking them, or back them up.
The image below is an example of the Template Export page. Note that you can choose any combination of templates to export by checking the desired checkbox.
The templates are stored in files having a .csv extension with the name of the file matching the template name itself. The format of the file is suitable for use with the template import functionality described below.
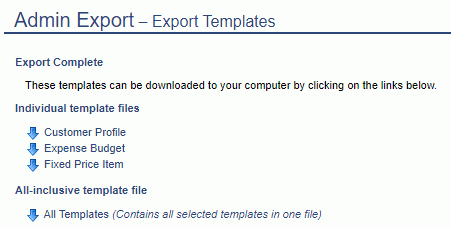
Once you click on the Export button, you are prompted with the options to save the files locally. If you have selected more than one export template, you'll have the opportunity to download and save the files individually, or you can download and save a bulk file. Note that both formats are compatible with the template import functionality described below. The output screen with these options will resemble the following:
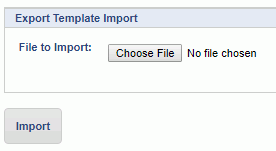
The Unanet System comes with a number of built-in templates. Custom made templates can be imported into Unanet by using the Template - Import functionality. Browse for the file you want to import and hit the submit button and the template will be imported.
The import screen will resemble the following:
Additional templates may be available for download from the Unanet web site (login to the Support area to see what's available).